Are you tired of inferior leather dye, poor adhesion & wear resistance? Try the best forget the rest
Showing all 5 results
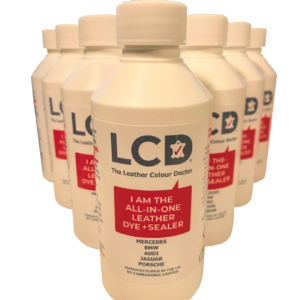
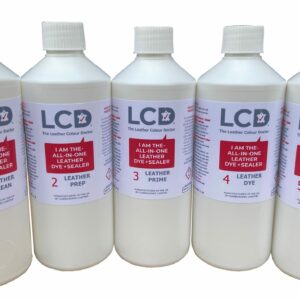
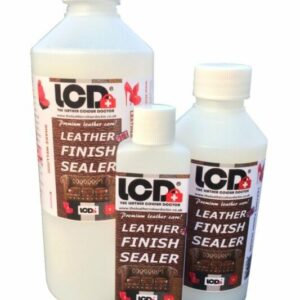
An old BMW car is a thing of beauty, don't you think? And one of the most notable features is often its BMW car seats, with its infamous coloured leather style.
But what happens when faded, worn coloured leather begins to ruin the look of that classic BMW automotive leather? Then you've got a problem!
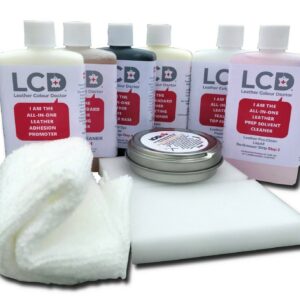
Well, you would have, but thanks to The Leather Colour Doctor you don't anymore. And that's because we have a BMW leather dye kit for you that handles everything from scratch repair, dyes, repairing scuffs, and colour matching, so your restoring leather project doesn't stand out from the rest.
But before we look at what our kit can do for you, let's focus on understanding why choosing the right kit for your BMW car is so important!
There are kits out there that will provide BMW automotive leather touch up products that can provide just enough colouring dye to fix small issues with your BMW car. But in reality, sometimes one colourant dye touch up isn't going to get the job done, especially when your BMW car seats are faded, worn, or damaged.
If that's the case, you'll need to purchase a repair kit that can repair scratches, restore old colour, and provide you with a leather care range moving forwards that will protect the leather seat.
Basically, you need to undertake permanent re-colouring projects suitable for your BMW car, and thankfully we have everything you need. But how can you trust in our colour match system to restore the right colour of your leather craft projects?
The beauty about products like ours is that you control the colour match yourself - there is no colour match pack or x match system with premixed colours checked against lab colour space values that can 'guarantee' an exact match with us.
No.
What we offer is an easily applied leather dye/leather repair paint that you can build up in light coats so you can match the BMW car seats, whether their light, dark, or otherwise!
This is the perfect solution because it puts you in control of the colour match yourself. Because different parts of your BMW car seats will be affected by different things, such as previously repaired areas, sun bleached areas, and areas affected by colour loss, it would be wrong of us to provide you with one pre-mixed colour rub to apply, because the results may completely alter the look of the leather because it might not react to the different areas in the same way.
Instead, you apply just enough pigment to get the look you want for your BMW leather with just one colourant dye that you can build up yourself until it's perfect!
Of course, we've talked about how leather dye and stain leather colourant can breathe life back into worn, faded, or damaged leather, but in order to make the task easier for you, you need to find the perfect repair kit.
We think ours is the best, of course, but let us explain some of the things you should be looking out for in a kit like ours:
All of these will work together to fix the issue you have now with your BMW leather and protect it in the future too.
Whenever leather is coloured, slight manufacturing variations will almost certainly occur. That means a simple leather repair paint that's already pre-mixed may not work perfectly because of these subtle differences.
It's therefore always best to build up the colour yourself using one dye that can be mixed and built upon until the appropriate colour is achieved. And remember, you may need different numbers of coats for different tasks. Faded leather may need more work than scuffed leather, for example, even on the same seat.
Now that you know how it all works, let us finally introduce you to our BMW Leather Dye Repair Kit and explain how you can use it yourself at home to fix your old leather seats.
Before you start work, you'll need a few additional things besides our BMW Leather kit:
Before you start any colourant dye touch up like this, it's really important that you test each product we discuss below first on an inconspicuous area to make sure A) the colour is matched and B) that the product reacts with your leather the way it is designed to.
If something goes wrong, at least then the affected area is less noticeable.
It's important to note, though, that problems are extremely unlikely.
The very first thing you need to do is take a clean cloth, apply some of the leather cleaner, and then use the plastic brush to work it into the leather.
This will remove grease, grime, and dirt and may even buff out minor cuts and scuffs. Using cleaner first is important so the colours can be matched perfectly later.
Next up is our preparation fluid. Take another clean cloth and apply some of the preparation fluid to the areas you will be working on to touch up and repair. Pay special attention to areas with a lot of contact.
All leather products will have a built in sealant or sealing top coat, and it's really important that you remove this old sealer coat from the leather in order for the other products to work.
As you're wiping, you should notice some of the leather's colours coming off on to the cloth. This is a good sign and means the preparation fluid is doing its job.
For the dye to adhere to the leather, you will need to use our adhesion promoter. Use a sponge to apply it to create a tacky texture that dye can stick to.
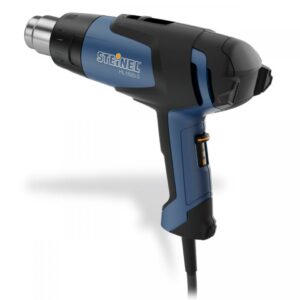
This will need to be applied 3 times in total, using the hair dryer to dry each layer before applying the next. You should also change the direction of application each time too.
Once the final layer of adhesion promoter is dry, you can start by using the one dye to build up the colours until the colours are matched.
Use a sponge again to apply, and because it's a water-based colourant, you'll need to use the hair dryer again to dry it in-between layers.
Please note: it will look patchy at first. This is normal, just continue to use the one dye, building up the colour with each layer until the colour matches the rest of the BMW leather.
Finally, it's time for the sealing top coat. Apply with a sponge, use a hair dryer between each layer, and alternate the direction of each application at a 45-degree angle to scatter light reflection on the seats for best results.
Once done, leave to set for 24 hours and your leather will be as good as new.
Hopefully, this information has given you the confidence to restore your BMW car seat's colour at home for yourself and take leather care more seriously moving forward.
But if you're still not feeling confident, then reach out today for a free consultation with one of our amazing team members. Here at The Leather Colour Doctor, helping our customers is our greatest pleasure!